
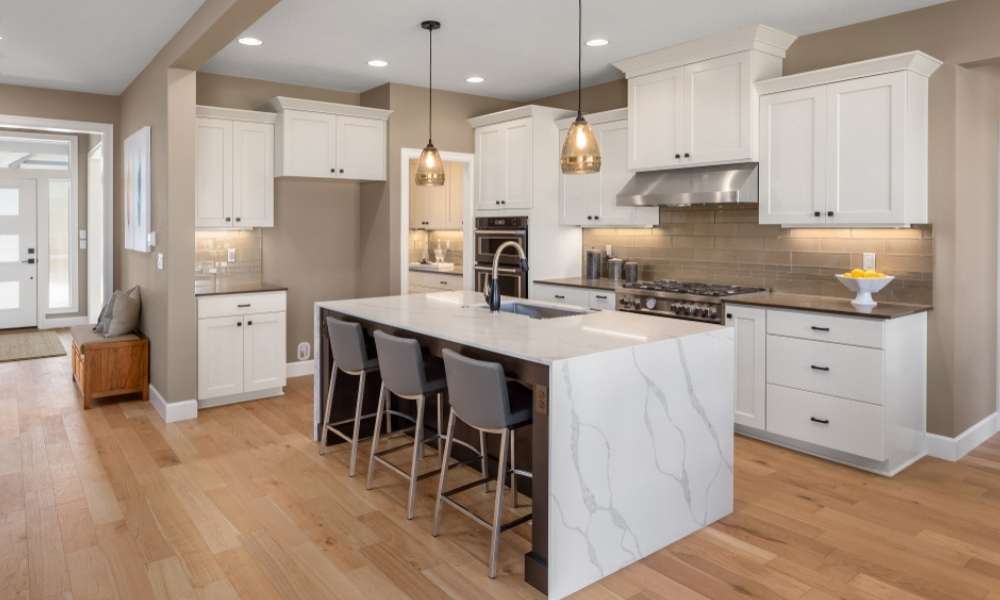
Make A Dresser Into A Kitchen Island. A kitchen island is often a pricey purchase, so many homeowners opt to create their own. The best part about building your own kitchen island is that you can customize it to your space and needs.
A few steps are required to transform a dresser into a kitchen island. You will want to remove the drawers from the dresser and place them in order on the floor, then cut two 2×2 boards and place them on top of the dresser like picture frames, flush with each side. This will serve as the top frame for your new kitchen island. Next, take two more 2x2s and place them at right angles across the frame you just put up (like a T).
Then nail or screw these pieces in place on both sides of the frame. Now, put another piece of wood on top of this frame to make sure all four sides are even, and nail or screw this piece into place. For an added touch of detail that will add functionality to your new
Why Create Your Own Kitchen Island?
Despite the fact that a kitchen island is great for any homeowner, it can be expensive. With the right tools, time and patience, you can make your own.
The most effective social media strategies are those that are tailored to meet specific objectives. Creating a well-thought-out strategy will ensure that you’re able to achieve your goals when it comes to social media marketing. There’s no need to reinvent the wheel; there are plenty of resources available online to help you create an effective strategy.
Create a Kitchen Island From a Dresser

A kitchen island is often a pricey purchase, so many homeowners opt to create their own. The best part about building your own kitchen island is that you can customize it to your space and needs.
A few steps are required to transform a dresser into a kitchen island. You will want to remove the drawers from the dresser and place them in order on the floor, then cut two 2×2 boards and place them on top of the dresser like picture frames, flush with each side. This will serve as the top frame for your new kitchen island. Next, take two more 2x2s and place them at right angles across the frame you just put up (like a T).
Then nail or screw these pieces in place on both sides of the frame. Now, put another piece of wood on top of this frame to make sure all four sides are even, and nail or screw this piece into place. For an added touch of detail that will add functionality to your new kitchen island, paint it using durable paint that can handle spills and heavy use in cooking.
What’s The Cost of a Kitchen Island?
The cost of a kitchen island is an important factor in deciding if you want to make your own. If you are able to find an old dresser, you will have saved some money on the project and be able to invest that into other aspects of your kitchen.
If you are looking for a new dresser, they range in price from $100-700 on average. The cost of wood varies depending on the type of wood and the thickness. This can range from $8-60 per board foot. The overall cost will depend on how many boards you use for your project and the quality of wood used.
Other Factors When Creating Your Own Kitchen Island
A kitchen island is often a pricey purchase, so many homeowners opt to create their own. The best part about building your own kitchen island is that you can customize it to your space and needs.
There are other factors when it comes to building your own kitchen island. First, think about the height of the space or where it will be located in relation to the stove, sink and fridge. For example, if there is not enough space for the stove below the countertop, then a taller kitchen island could be an option. Secondly, decide how much storage you need and if a small cabinet on top would suffice.
if you should build additional shelves. Lastly, think about whether you want it to attach to a wall or stand by itself. All of these things need to be taken into consideration when designing your new kitchen island!
Step-By-Step Instructions
- Remove the drawers from your dresser.
- Place the drawers on the floor in order and cut two 2×2 boards to place on top of the dresser like picture frames, flush with each side. This will serve as the top frame for your new kitchen island.
- Take two more 2x2s and place them at right angles across the frame you just put up (like a T). Then nail or screw these pieces in place on both sides of the frame. Now, put another piece of wood on top of this frame to make sure all four sides are even, and nail or screw this piece into place. For an added touch of detail that will add functionality to your new kitchen island – attach a board at one end to create a handle so you can pull out this kitchen island when needed!
Tools You’ll Need to Build Your Own Kitchen Island
One of the most important tools for this project is a saw. Find a circular saw that doesn’t have a cord and will make your cutting go faster. An electric or battery-operated drill can help you with any drilling you need to do and it also serves as a good way to attach the wood pieces together to create your new kitchen island. You’ll also need a hammer and nails or screws.
Make a Dresser Into a Kitchen Island
A kitchen island is often a pricey purchase, so many homeowners opt to create their own. The best part about building your own kitchen island is that you can customize it to your space and needs.
A few steps are required to transform a dresser into a kitchen island. You will want to remove the drawers from the dresser and place them in order on the floor, then cut two 2X2 boards and place them on top of the dresser like picture frames, flush with each side. This will serve as the top frame for your new kitchen island. Next, take two more 2x2s and place them at right angles across the frame you just put up (like a T).
Then nail or screw these pieces in place on both sides of the frame. Now, put another piece of wood on top of this frame to make sure all four sides are even, and nail or screw this piece into place. For an added touch of detail that will add functionality to your new kitchen island, cover one side with tile.
Benefits of Converting Kitchen Island
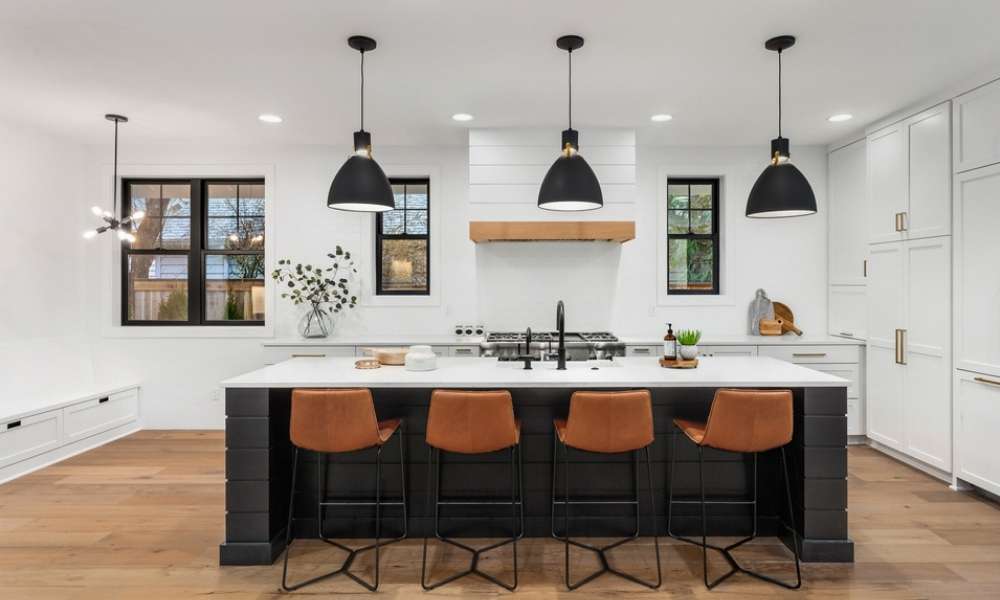
There are many benefits of converting your dresser into a kitchen island. The top frame will be the perfect place to store your cutting boards, baking sheets, colanders and other kitchen tools.
Placing these tools on the top of your new kitchen island makes them easily accessible while also adding some style to your space. Plus, it saves you space in your cabinets or pantry.
Another benefit is that it’s a great way to create an eating station without having to purchase an expensive piece of furniture. You could put up a small table and chairs next to the dresser-turned-kitchen island for family meals or game night. Plus, you’ll get extra storage with this DIY project – just use the drawers from the dresser as storage!
Steps for Building Kitchen
The first step is to measure the length and width of your dresser. If you don’t have a tape measure handy, use any long, straight object like a ruler or yardstick.
Next, measure the height of your dresser from the ground to the top of the dresser. This will be important for determining how high to make your kitchen island frame.
Now you can cut four boards for your kitchen island frame using whatever dimensions you determined above. Make sure these are all as close to an even length as possible (within 1-2 inches).
Next, measure out one full board on one side of each window pane and saw it down the middle (or use a circular saw if you have access). You should now have two half-board pieces on each side of each window pane.
Take two of these half-board pieces and place them at right angles across the top frame so that they meet with equal lengths. Nail or screw this piece into place on both sides of the frame, then add another piece of wood on top to make sure all four sides are even and nail or screw that board into place. Now repeat this process for all four corners, making sure your measurements match up with the first corner before moving on to the next one.
Once this has been done, take three 2x2s and cut them in half so that you have six pieces that are 17-18 inches long each (you may need a saw for this). Place
Conclusion
A kitchen island is a great way to create more cooking space and add extra storage to your kitchen. It can also help you to create a more welcoming, intimate dining experience. For many, the cost of a kitchen island can be prohibitive. But what if you already have a dresser in your home that you no longer use? With a little time and the right tools, you can easily turn your old dresser into a custom kitchen island. Check out this guide to find out how!


