
How to Cover Inside of Kitchen Cabinets. It’s often a pain when you want to clean your kitchen and find there’s nowhere that has been left untouched. Some of the dirtiest places in any kitchen are often those hard-to-reach spots: the inside of your kitchen cabinets. Follow these easy steps to keep your cabinets looking new and spotless.
Start by using a vacuum cleaner to suck up crumbs and dust from cracks on the shelves, corners, and top of cabinet doors. Next, lay some thick sheets of paper towels on the floor or countertop. Now go through cabinets one by one and wipe down their insides with the cleaner-soaked paper towel. Finally, put everything back inside neatly. Now you can feel proud about how clean your kitchen is!
Measure and Mark the Shelves
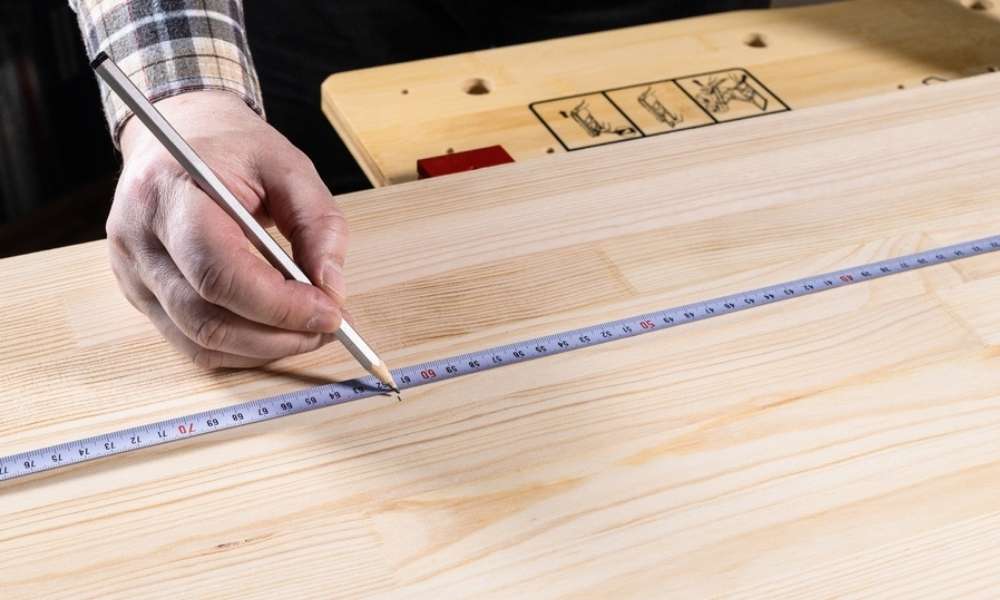
Now you’ll need to measure and mark where the shelves will go with a pencil before drilling holes into the cabinet side panels. Carefully drill the holes at least 1″ away from the edge of the cabinet panels so they can be filled in with epoxy later if necessary. Clean off any dust from drilling with a damp cloth or sponge and check for missed spots on both sides of every panel before moving on to installation. How to Cover Inside of Kitchen Cabinets.
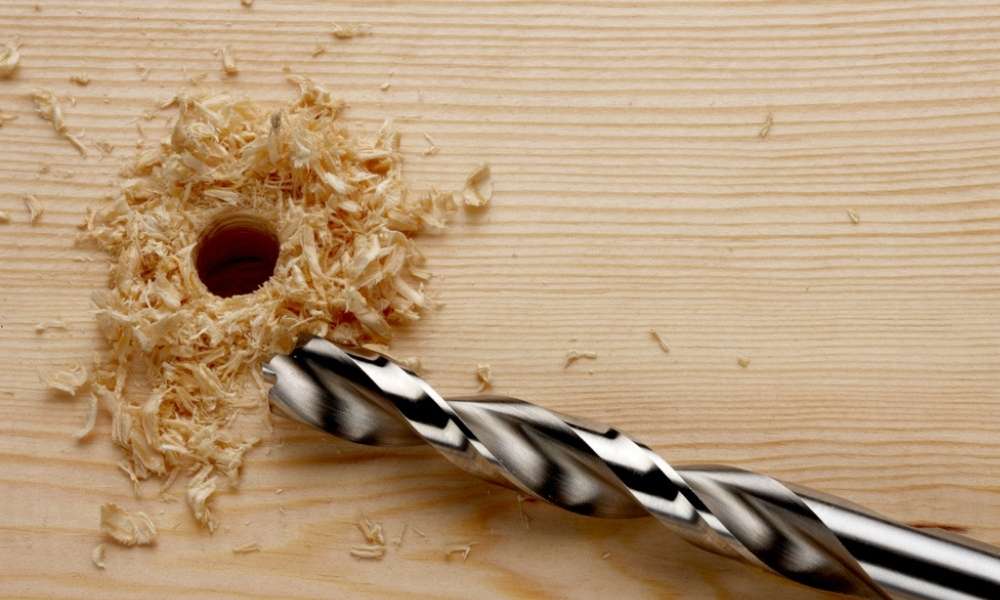
Drill Holes in the Cabinets

Demolition is the first step of any project and it is also the most important step. If there’s anything in the cabinet that you know you don’t want anymore, get it out now. Measure and mark where the shelves will go with a pencil before drilling holes into the cabinet side panel. Carefully drill the holes at least 1″ away from the edge of the cabinet panels so they can be filled in with epoxy later if necessary. Clean off any dust from drilling with a damp cloth or sponge and check for missed spots on both sides of every panel before moving on to installation
Clean off any Dust from Drilling
How to Cover Inside of Kitchen Cabinets. It is important to clean off any dust from drilling with a damp cloth or sponge before moving on to installation. This will ensure that there are no scratches left on the inside of your cabinet. When you install your shelves, be sure not to push too hard when you hammer them in. You want the shelves to stay in place but also not leave any dents or scratches on the inside of the cabinets.
Install the Shelves
Measure and cut the shelves to the desired height. Remove adhesive backing from the sheet of pegboard and attach it to the inside of the cabinet with a hammer and nails, starting in one corner and working your way across. Cut strips of contact paper or vinyl that are long enough to wrap around each shelf and overlap on both sides, plus an extra inch for overlap at each end. Attach them to the backside of each shelf with a heavy object (like a book) on top of it for about 30 minutes or until firmly adhered to the surface.

Install the shelves by lining up their ends with those of the cabinets and attaching them with screws or nails through predrilled holes in their ends into pre-drilled holes in the cabinet walls or shelving posts, spacing them so they’re evenly distributed from front to back and side-to-side within your specific cabinet configuration How to Cover Inside of Kitchen Cabinets.
Sizes and Measurements
The size of your kitchen cabinets will be dependent on the size of your kitchen. In a small kitchen, you may want to consider installing a single shelf across the back or side panels. In a larger kitchen, you could have multiple shelves across the back or side panels or use the inside cabinets for storage. You can also choose to leave some sections empty for shelving pots and pans or dishes.
Measurements should include where you want your shelves to go as well as how deep they will be, how high they will be and how many rows of shelves there will be. The deeper your cabinet, the taller each shelf can be. If you’re using inside cabinets for storage, measure how high your items are so that they fit comfortably on each shelf How to Cover Inside of Kitchen Cabinets.
Measure and mark where the shelves will go
The first step in installing your shelves is to measure and mark where the shelves will go. The simplest way to do this is to measure 1/2″ down from the top of the cabinet and then make marks at that height every 6-8 inches across the bottom of the cabinet. Then use a straight edge (ruler) to connect them so you have all your measurements marked out. How to Cover Inside of Kitchen Cabinets.
Now you just need to measure up from the bottom of the cabinet and make marks at that height every 6-8 inches across. Connect those with a straight edge too, and you’ll have 2 large rectangles drawn on your cabinet. These are your shelf locations and there should be one near each corner of the inside of your cabinets for stability.
Components for a Clean Look
- Measure and mark where the shelves will go with a pencil before drilling holes into the cabinet side panel.
- Drill the holes at least 1″ away from the edge of the cabinet panels so they can be filled in with epoxy later if necessary.
- Check for missed spots on both sides of every panel before moving on to installation.
- If you want your pot rack to match your cabinets, make sure that you are using the same style of door handles and doors as well as any other accents around the kitchen such as molding or paint colors.
5. There are many coats, finishes and options for a clean look, such as lacquers, varnishes or even a coat of oil-based polyurethane for a more durable finish that can withstand heavy use.
How to Keep Your Cabinets from Sagging

Avoid sagging cabinets by following these 3 easy steps:
- Measure and mark where the shelves will go with a pencil before drilling holes into the cabinet side panels.
- Clean off any dust from drilling with a damp cloth or sponge and check for missed spots on both sides of every panel before moving on to installation.
- Use a level to draw your cut lines and cut carefully from the inside of the cabinet, making sure not to damage any of the trim or hinges in the process.
Get rid of all the old stuff
The inside of the kitchen cabinets is the best place to store all those pots, pans and dishes for easy access. Whether you want to match your pot rack to your cabinets or just have a clean, pretty look, here are some tips that will help you achieve your goal.
Demolition is the first step of any project and it is also the most important step. If there’s anything in the cabinet that you know you don’t want anymore, get it out now. How to Cover Inside of Kitchen Cabinets.
Measure and mark where the shelves will go with a pencil before drilling holes into the cabinet side panel. Carefully drill the holes at least 1″ away from the edge of the cabinet panels so they can be filled in with epoxy later if necessary. 4. Clean off any dust from drilling with a damp cloth or sponge and check for missed spots on both sides of every panel before moving on to installation.
Conclusion
How to Cover Inside of Kitchen Cabinets. Your kitchen is one of the most valuable spaces in your home. It’s where you spend so much time and where you cook your favorite dishes. You want it to be clean, organized, and welcoming. In this post, we are going to be covering the inside of your kitchen cabinets.
In order to start the process, you’ll want to measure and mark the shelves where they will go. You can use a level to make sure they are straight. Make sure that the holes are at least one inch deep. There are also a lot of other things you can do to keep your cabinets from sagging such as adding more shelf supports, as well as making sure that you have enough weight on them.


